Design Basic WordPress Themes Header
By default, the WordPress header is a simple piece of code. You do not have to get into the code to change the header that comes with whatever WordPress Theme you choose. You set the blog or website title and description in the Administration > Settings > General panel, and WordPress does the rest.
In its simplest form, the WordPress Classic Theme features the header code like this in the wp-content/themes/classic/header.php template file:
<h1 id="header"> <a href="<?php bloginfo('url'); ?>"><?php bloginfo('name'); ?></a> </h1>
The header is set in an h1 HTML tag and features one template tag used with two different options or parameters. You can learn more about these parameters in the documentation for bloginfo(). Basically, the first one displays the URL of the website in a link, and the second one displays the name of the blog or website as set in the Administration > Settings > General panel. When the user moves the mouse over the header title, the header can be clicked to return back to the main or front page of the site as set in the Administration > Settings > General panel.
The WordPress Default Theme features an image in the background and presents the header like this in wp-content/themes/default/header.php:
<div id="header"> <div id="headerimg"> <h1> <a href="<?php echo get_option('home'); ?>"> <?php bloginfo('name'); ?></a> </h1> <div class="description"> <?php bloginfo('description'); ?> </div> </div> </div>
Again, the template tag featuring the name of the blog or website is in a link, but this shows another usage similar to the URL request above. It gets the same information, just in a different way. It also adds the description of the site from the Administration > Settings > General panel.
Basically, these two header examples do the same thing in different ways. They provide information in the header, with the potential for an image, and make the header title clickable to help navigation on the site. It is just a matter of how much information you want in your header, and how that information is displayed.
Using the first example from the Classic Theme, an image can still be used in the background, set within the style sheet in the h1 selector, but the second one gives more control to the use of an image in the header by giving it its own division. How these look are totally controlled by the style sheet.
Styling the Header
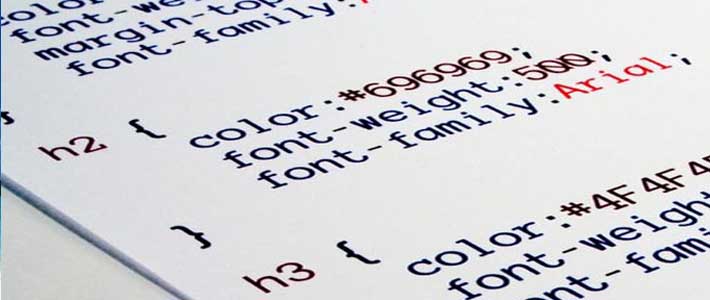
As listed in the two above examples, the styles for the header are contained within the h1, header, headerimg, and description CSS selectors. These are all found within the style.css, though may be found in the styles in the header.php of the WordPress Theme you are using. You will have to check both places.
In the Classic Theme, the CSS for the header are found in one selector, the #header.
#header { background: #90a090; border-bottom: double 3px #aba; border-left: solid 1px #9a9; border-right: solid 1px #565; border-top: solid 1px #9a9; font: italic normal 230% 'Times New Roman', Times, serif; letter-spacing: 0.2em; margin: 0; padding: 15px 10px 15px 60px; }
The background color is set to a green shade and there is a border all the way around the header which changes colors creating a recessed, shadow effect. The Times font is set with a size of 230% with a wider than normal letter spacing. The padding on the left side indents the text in from the left.
All of these can be easily changed, giving the border a thicker width and making it all the same color, changing the background color, the font size and style, the letter spacing, and more by modifying the information in each style attribute.
The same is true of the Default WordPress Theme header, except there are more styles to think about and they are found within the header.php’s “head” tag and the style.css, though once you have your styles set, you can move the information into your style sheet.
The styles that control the header’s look are found within the h1, header, headerimg, and description CSS selectors. Just like the Classic Theme, find these references and make your modifications there to change the look.
Changing the Header Image
There are many different header images and header art available for you to use to change the image in the header. The styles for the header image for the Default WordPress Theme, and any Theme based upon that Theme, are more complicated to change than those for the Classic Theme. The styles are found within the styles in the header.php “head” section, as well as in the styles.css. To change only the header image reference, open the header.php template file and look for the styles like this:
#header { background: url("<?php bloginfo('stylesheet_directory'); ?>/images/wc_header.jpg") no-repeat bottom center; } #headerimg { margin: 7px 9px 0; height: 192px; width: 740px; }
To change the image file, replace the “kubrickheader.jpg” with the name of the new graphic image you have uploaded to your site to replace it. If it is in a different directory, change that by replacing the bloginfo() tag with the specific address of the graphic’s location.
NOTE: The use of the bloginfo tag only works when the style is used within the head of the template file. WordPress template tags will not work in the style sheet (style.css). To move this style to the style sheet, change the template tag to the actual address (URL) of the header image graphic.
If you are using an image that is the same size, then simply replace the image. If it is a different size, fill in the height and width of the image in the next section called #headerimg. If you do not know, and are using Windows, view the folder in which the image resides on your computer in Thumbnail view mode. Click View > Thumbnail from the Windows Explorer menu. In Thumbnail view mode, find your image and hold the mouse over it. A small balloon tip will pop up listing the dimensions. Use that information in the styles. Otherwise, just right click on the image file and choose Properties and it should give you the file size and dimensions.
Save the template file and upload it and the image to your website and take a look. Some changes may need to be made to fine-tune the placement and look.
Conclusion
With the header image in place, it is time to tackle the rest of the header. Open your style.css style sheet file and look for the following:
- h1
- header
- headerimg
- description
Your Theme may or may not have all of these, but the Default Theme has all of them in different places within the style sheet. All or some of these may need to have the attributes changed to change the look of your header.
If you change the size of the header image or header art, be sure and change the other structural CSS selectors like content and sidebar to accommodate the change in the header size.