Peony Quick Guide
Installation & Activation
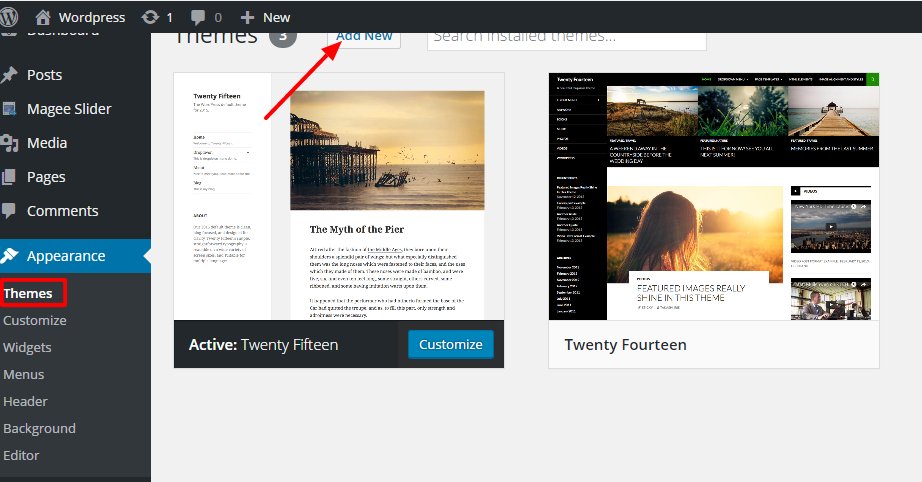
Go to Dashboard -> Appearance -> Themes -> Add New.
2 ways to install Peony theme
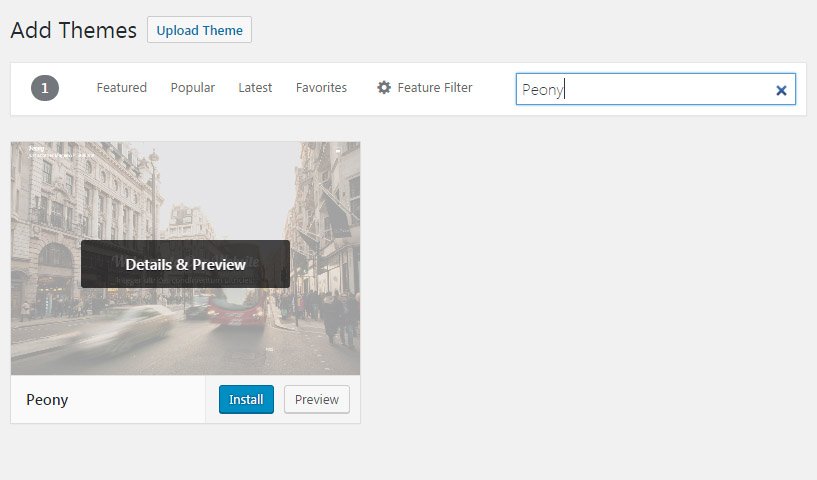
- Way 1: Input “Peony” into search box -> Click “Install” ->Download and Install online.
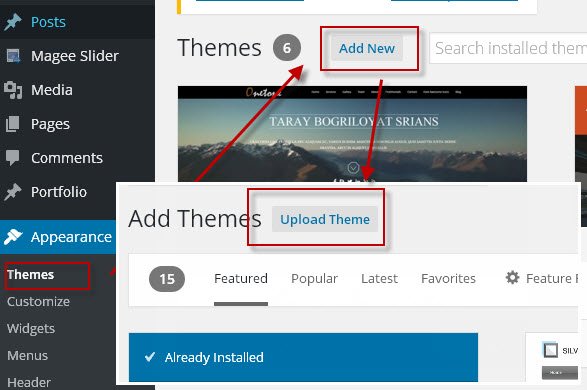
- Way 2: Download the theme from wordpress.org or our official site. Click on ‘Upload’ -> ‘Browse’ ->Load the peony.zip file you downloaded earlier ->click on ‘Install Now’.
Click the “Activate” link after installation.
After activate Peony theme, you will see the tip on the top of Appearance/Themes like below.

Click the Begin installing plugin, you will be redirected to “Appearance/Install Plugins”, click “Install” and you will install the the Mageewp Page Layout plugin conveniently.
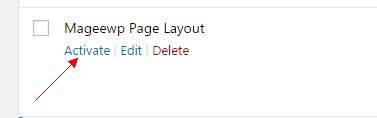
After install the Mageewp Page Layout plugin, go to “Plugin/installed plugins” and click “Activate”.
Create Homepage
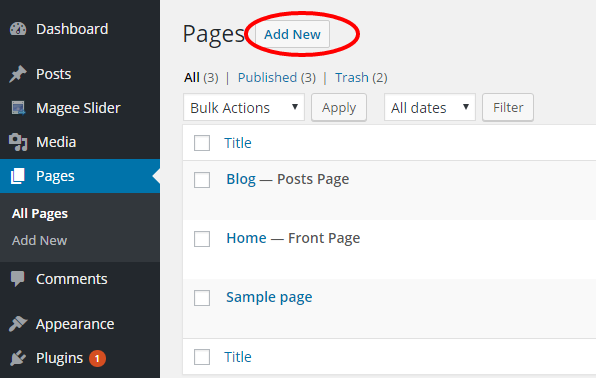
Go to Pages -> Add New to create a new blank page, named it “Homepage” or any others.
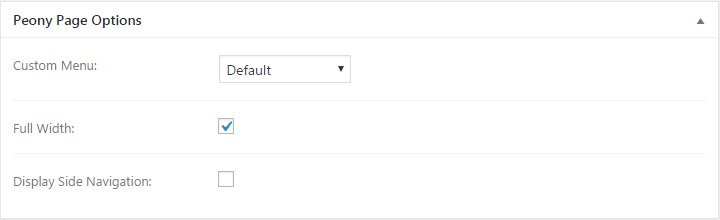
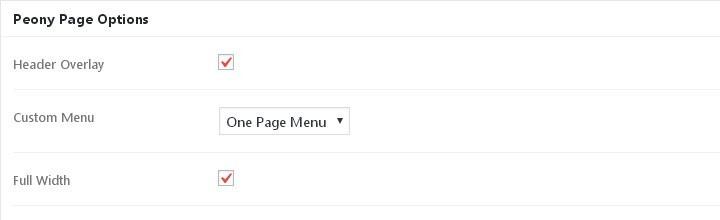
Set page as “Full Width” in Peony page options.
Click “Publish” button.
Navigate to the Dashboard> Settings > Reading interface, Check “A static page(select below)”
In the ‘Front page’ selector choose the page you want to be the Homepage from the Front Page dropdown list.
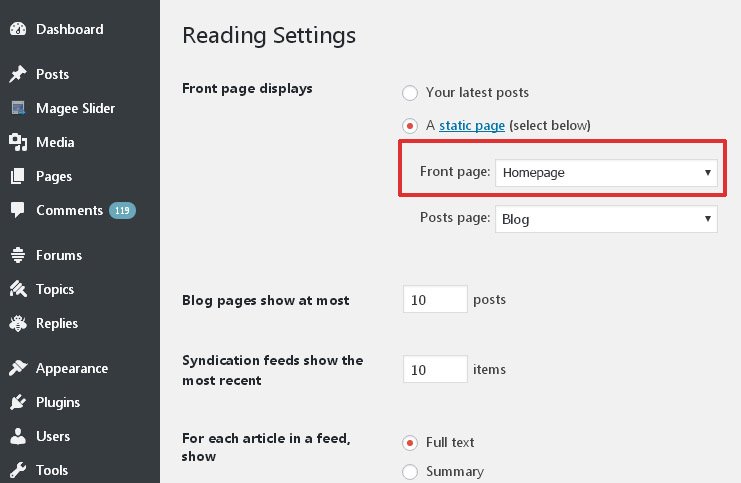
If you want to use blog feature in your site, create a blank page and set it as “Posts page” here.
Assign Homepage using Mageewp Page Layout plugin
Go to edit the page you created in previous step.
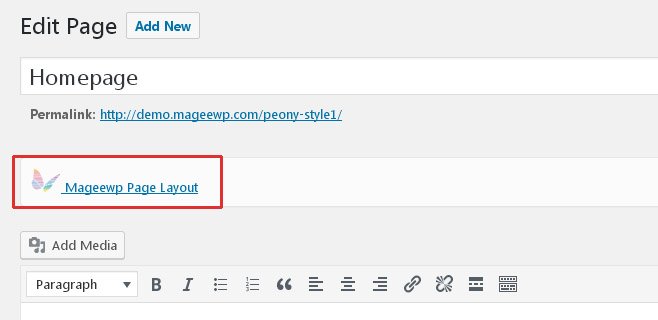
Click the “Mageewp Page Layout” link above the editor to open the visual page builder. You could also click to view the page and click the “Mageewp Page Layout” link in the top bar of the page.
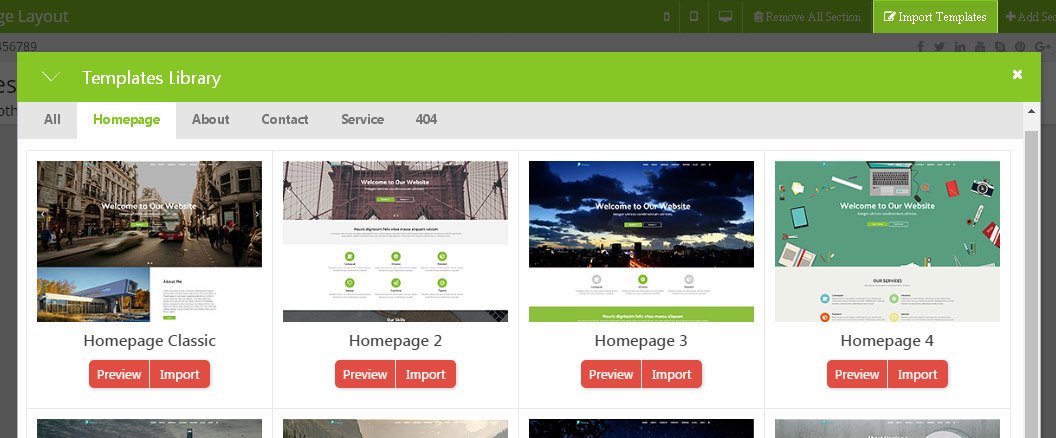
Click “Import Templates” button to open the template library. Choose a homepage template to import.
Click the update button. If you choose to exit, you could find the page has same view with Peony demo.
Click the control panel above each section to edit contents and styles.
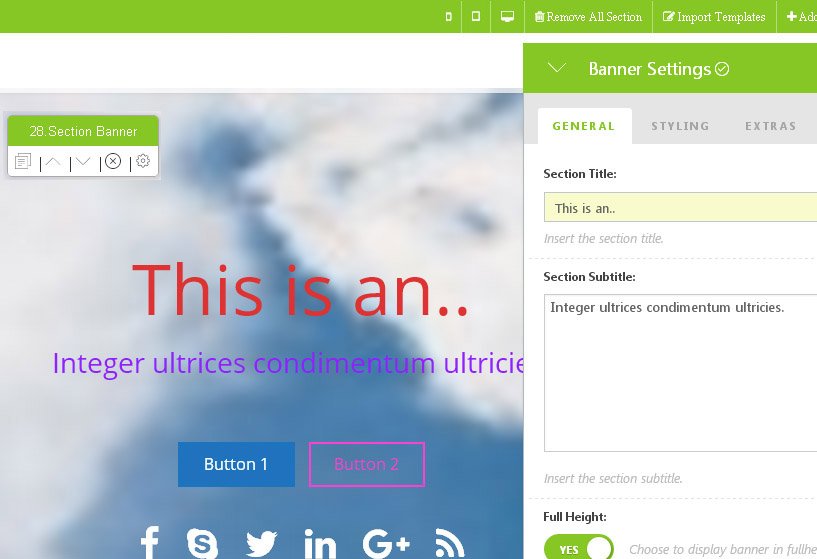
Take “Banner” section as an example. Click the gear icon to open the editor. Change section title to “This is an..”, you could view the changes of banner section in real time. Text, images, links are all editable.
In this editor you could not only edit contents in “General” tab, but also change designs like typography, background, animation effect, etc in “Styling” & “Animate” tab. No coding knowledge needed.
Choose “Extras” tab to change section slug.
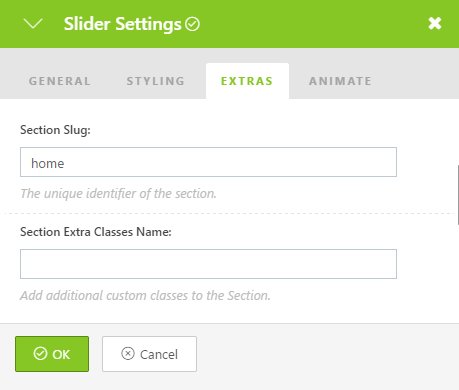
If you want to make a one-page site, you need to add section slug to each section so you can make a one-page scrolling menu.
Click “OK” button to close the editor.
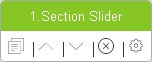
You could click the up arrow & down arrow to reorder sections.
Click the copy icon to duplicate section. Click the cross icon to delete section.
Click “Update” button to save changes.

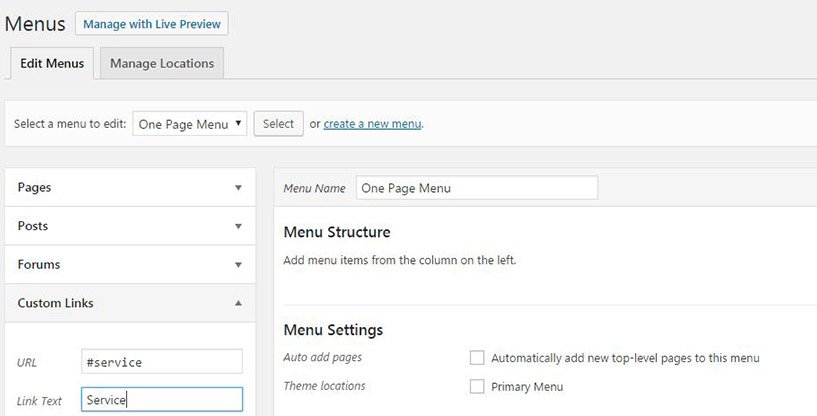
Create One Page Menu
Go to Appearance - Menus - Create a new menu and named it as “One page menu” or others. Add Custom Links like “#service” if you add id “service” to your first section and so on.
Go to edit the page you created in previous steps. Set custom menu as the menu you created before in Peony page options.
*Anchor menu with scrolling effect can’t be used in other pages without same anchors. If you want to create a normal menu, just set it as primary menu so it could be used in every page.
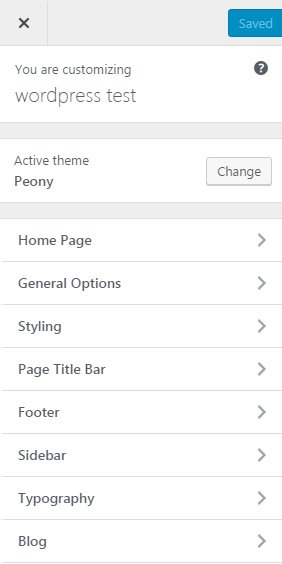
Theme Settings
Go to Appearance - Customize to set appearance of the theme.
You’ve finished your site. Publish and enjoy it.