ALCHEM THEME GUIDE
Free Version Installation
When you want using free version, you get two ways to install this theme:
Method 1. Download from WordPress.Org
- 1. In your dashboard, go to Appearance - Themes, click on Add new, search Alchem.
- 2. When the Alchem theme appears, click Install button, then the WordPress will start downloading the theme.
- 3. Active the theme
Method 2. Download from Mageewp.Com
- 1. Go to Appearance - Themes in the Dashboard
- 2. Click on the Add New button
- 3. Click on the Upload link
- 4. Select the Alchem.zip file
- 5. Click Install Now
- 6. Hit the Active to active the theme after it is successfully uploaded
Pro Version Installation
When you want using pro version, you need purchase it, download the pro theme file in our website. Then follow these steps below
- 1. Go to Appearance - Themes in the Dashboard
- 2. Click on the Add New button
- 3. Click on the Upload link
- 4. Select the Alchem.zip file
- 5. Click Install Now
- 6. Hit the Active to active the theme after it is successfully uploaded
Notice: If you are updating free version to pro version, before you activate the Alchem Pro, try deactivate the Magee Shortcode firstly, because Pro theme had installed pro Magee Shortcode plugin already, they will make a confilc and lead install problem.
Alchem Options - Setting Place
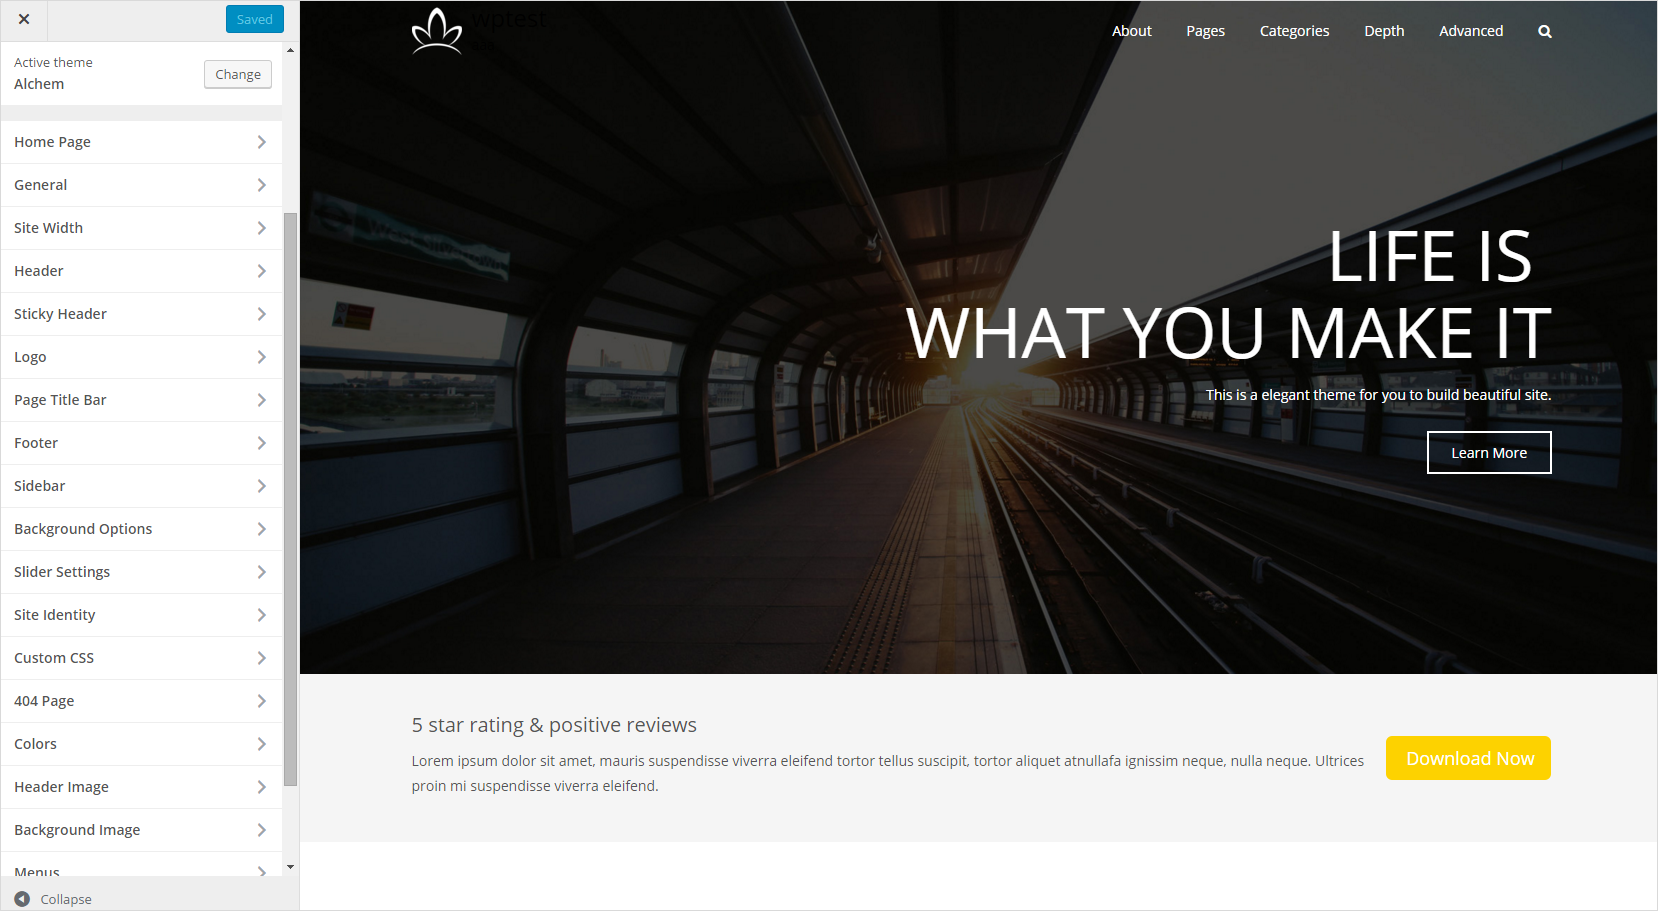
Alchem options are now in the Dashboard/Appearance/Customize, click it you will see that in the left side of front end.
Front Page Displays
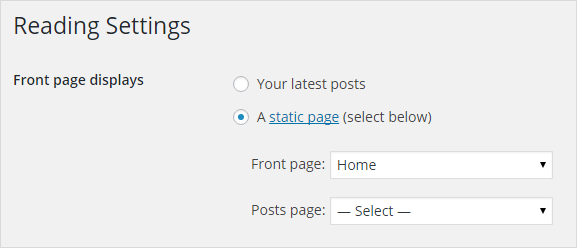
In order to show Alchem default homepage, you need create a new page, for example named “Home”. Notice when you create the page, you don’t need write any content, but you need select “Page Attributes/Template” to “Front Page”.
Then navigate to “dashboard/settings/reading/Front page displays”, check the “A static page (select below)”, select the “Front page” to “Home” which we just created. Save changes and the Alchem homepage will display.
Home Page
Click Home Page in the customize, you will be able to edit the sections of the Alchem homepage, like banner, slogan, service and so on. Next we will introduce them one by one, obvious or repeated option we will skip them. Pro version has more prebuilt sections you could edit.
Section Order (Pro version only)
You could sort the sections in the option, select the section name in the the section position, then the section will be show in the position you choose.
Section - Banner
Content Model
Choose Default to fill this section form with fixed layout. Choose Custom to fill this section with custom html code.
Advise you use the Default model if you are not good at html code, we can’t provide support for custom codes because custom codes will make prolem very complex.
Background Color
Set background color for this section. If you set background image, the color will be covered by image.
Background Image
Upload background image for this section.
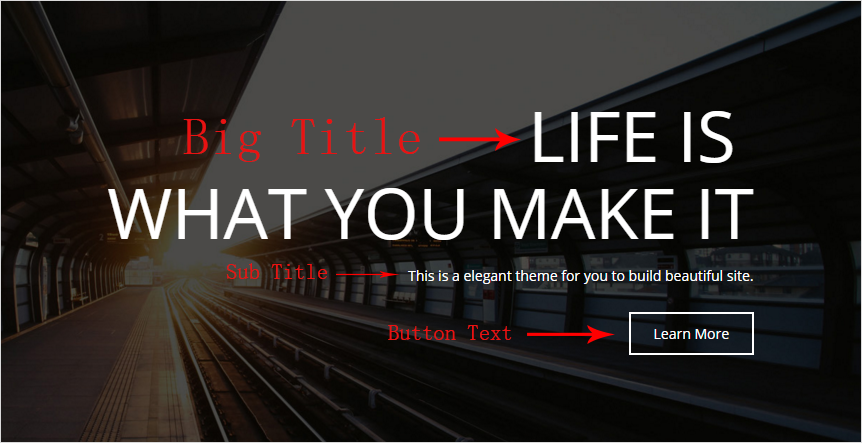
Big Title & Sub Title & Button Text
Set text content for each.
Section ID
This id is used for advanced custom css or codes, if you are not good at that, just keep it default value.
Custom Section Content
This would display instead of fixed layout once Content Modal is set as Custom. HTML Code and Shortcode are both allowed.
Advise you use the Default model if you are not good at html code, we can’t provide support for custom codes because custom codes will make prolem very complex.
Hide Section
Check this you will hide the section content.
Section - Tagline

All options are the same as Section Banner, we will skip obvious or repeated options.
Section - Service
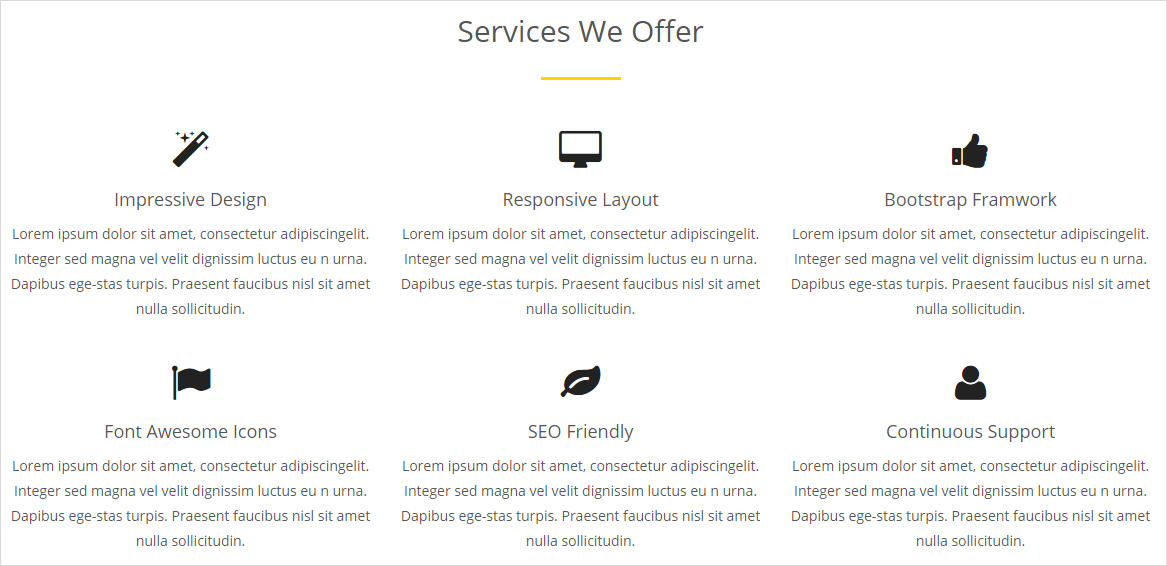
We will skip obvious or repeated options, if you have any question, please read the content above.
Columns
Set the columns number of the “Section Service”.
Font Awesome Icon
You could change the “Font Awesome Icon” by changing their name, available “Font Awesome Icon” name you could get from fontawesome
Upload Icon
If you don’t like “Font Awesome Icon”, you could upload your favorite image by this option.
Section - Recent Works
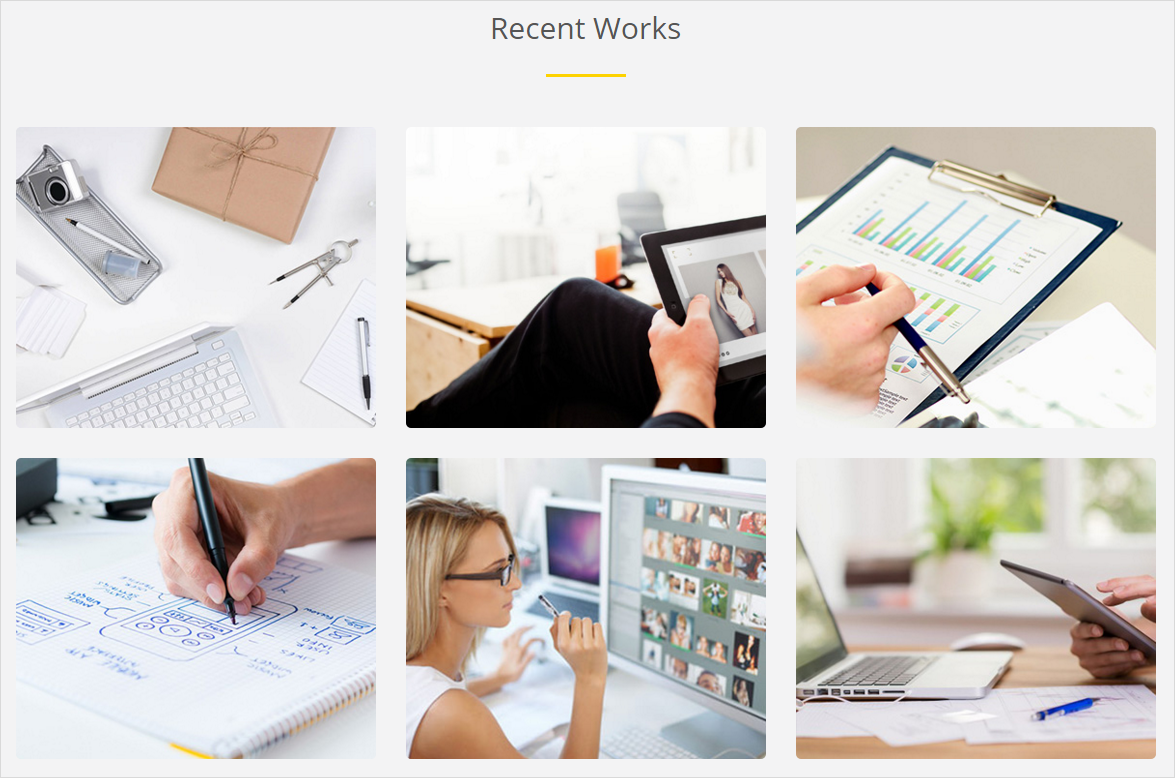
No new options, we notice skipped obvious or repeated options, if you have any question, please read the content above.
Section - Features
No new options, notice we skipped obvious or repeated options, if you have any question, please read the content above.
Section - About us
This section is created by “Section Content“, it need some html and css knowledge, if you are not familiar them, just check the “hide section“. Notice we skipped obvious or repeated options, if you have any question, please read the content above.
Section - Our Team, Testimonials, Latest News, Partners, Slogan
No new options, notice we skipped obvious or repeated options, if you have any question, please read the content above.
General
Scheme Options
With the adjustment of this one setting, you can completely change the look of your site. Alchem supports changing global color via one simple click, and the color picker will help you find the color you prefer easily. Yet notice that most of the time, changing primary color only affect default color, those you had specified can’t be changed because of the css priority.
Site Width
Layout Options
You could set the site wide(full width) or boxed. In this option, if you choose boxed layout, you can’t change the page to full width independently. But if you choose wide layout, you could change the page content to boxed width independently.
Site Width
When your layout is wide, the width setting is for the content of page. But when your layout is boxed, the width setting is for the overall site. Is it confusing? Just try it several times and you will understand it.
Content Width/Sidebar Width
These settings are used on pages with 1 sidebar. Total values must add up to 100%.
Content Width/Left Sidebar Width/Right Sidebar Width
These settings are used on pages with 2 sidebars. Total values must add up to 100%.
Styling

Background Colors
In it, you could change Sticky Header Background Color & Opacity, Header Background Color & Opacity, the color of page title, content background, sidebar, copyright and so on.
Element Colors
The color of Footer Widget Divider, Form Background, Form Text and Form Border are settable.
Layout Options (Pro version)
This option is pro version only. In it, you could set the padding of page content and side bar. The margin of the column. And “100% Width Left/Right Padding” option controls the left/right padding for page content when using 100% site width or 100% width page template. In pixels or percentage, ex: 10px or 10%.
Font Colors
The font colors you could set there are header tagline, page title, h1 to h6, body text, link, breadcrumbs text, sidebar widget headings, footer headings, footer text and footer link.
Main Menu Colors
In this option you could set color for main menu. The main menu color of below are settable: background, font, font hover, sub lever background, sub level font, sub level font hover, separator, woo cart menu background.
Header
Header Options
Header Style
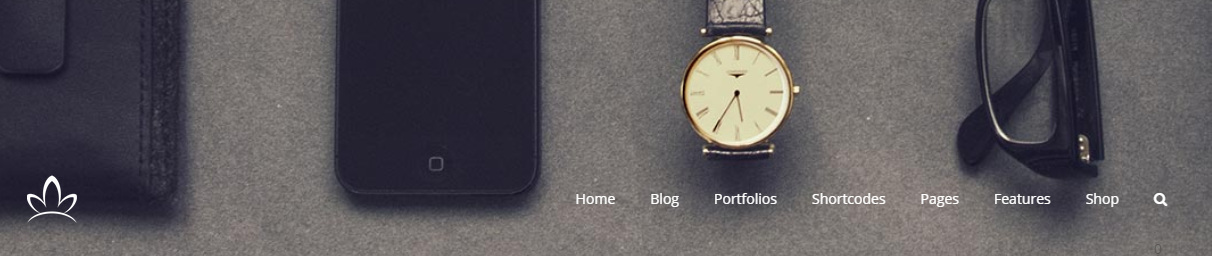
Now, we add “choose header style” option in the customize, when choose it to “style 1”, the header will show the original header, menu is float right like below.

When choose it to “style 2”, the menu will appear below the logo like below.

Header Overlay
Header Overlay means you could put the header over the banner and has tansparent backgroud like below. You could switch it on or off.
Header Background Image
You could upload a Background Image For Header Area.
100% Background Image
Turn on to have the header background image display at 100% in width and height and scale according to the browser size.
Parallax Background Image
Turn on to enable parallax scrolling on the background image for header top positions.
Background Repeat
Select how the background image repeats. You could select repeat, repeat-x, repeat-y, no-repeat.
Header Top Padding & Header Bottom Padding
This options allows you to enter a numerical value to set the space header top and the header bottom. In pixels or percentage, ex: 10px or 10%.
Tagline
When you choose header style to “style 2”, you could write some tagline in the option. Html codes are allowed, notice the default font color is black, so maybe you could not see it if your header background is black too. A example codes is
Tagline
Top Bar Options

Top Bar is like above, it is always above the header and banner. You could set Display Top Bar yes or no, a lot of Background Color. Left Content and Right Content you could set info, sns, menu and none.
After these options, you could set the Info Color, Info Content and Menu Color.
For the sns, you could set the Social Icon and Social Icon Link. Social Icons Color is unlimited. Social Icon Tooltip Position has three position you could select: left, right and bottom.
Tip: More social icon name you could get from fontawesome
Social Icons Color
Set color for social icons.
Tooltip Position for Social Icons
Controls the tooltip position of the social icons in top bar.
Sticky Header
Have you ever been at the bottom of a webpage and wanted to go to another page, but didn’t want to scroll all the way back up to the top to select a menu item? With Alchem’s sticky header, you no longer have to do that. Your main menu and logo will always be at the top of the screen, automatically following when you scroll. This makes it much easier for your viewers to quickly navigate through your site.
Enable Sticky Header
Choose to enable a fixed header when scrolling.
Enable Sticky Header on Tablets
Choose to enable a fixed header when scrolling on tablets.
Enable Sticky Header on Mobiles
Choose to enable a fixed header when scrolling on mobiles.
TIP: If your menu too long, suggest not enable it on tablets or mobiles, otherwise the end part of menu would be invisible.
Logo
Logo
Upload Logo - Select an image file for your logo.
Upload Logo (Retina Version @2x) - Select an image file for the retina version of the logo. It should be exactly 2x the size of main logo.
Standard Logo Width/Height for Retina Logo - If retina logo is uploaded, enter the standard logo (1x) version width/height, do not enter the retina logo width. Use a number without ‘px’, ex: 40
Sticky Header Logo
The same options as the normal logo, the only emphasis is you could set a different logo image for the sticky header logo. If you don’t set it, it wouldn’t appear.
Logo Options
Set the logo position.
Page Title Bar
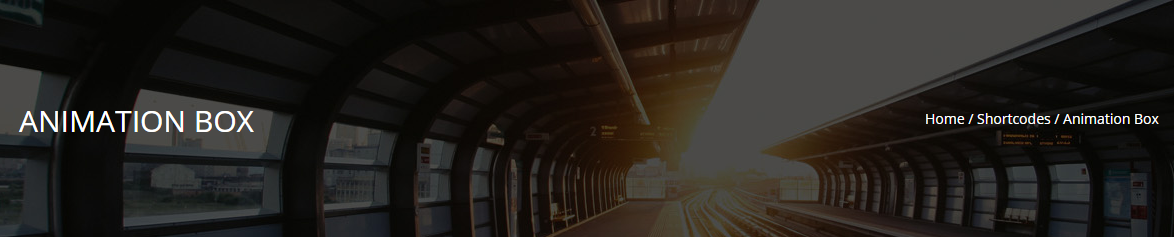
Page Title Bar Options
- Enable Page Title Bar - You could turn the feature on or off.
- Page Title Bar Top Padding, Page Title Bar Bottom Padding, Page Title Bar Mobile Top Padding, Page Title Bar Mobile Bottom Padding - decide the bar position on pc and mobile, all in pixels, ex: 50px.
- Page Title Bar Background - You could upload a image from there as the page title bar background.
- Page Title Bar Background (Retina Version @2x) - This option is for the equipment which have retina screen. You could upload a more higher resolution image in this.
- 100% Background Image - Select yes to have the page title bar background image display at 100% in width and height and scale according to the browser size.
- Parallax Background Image - Select yes to enable parallax background image when scrolling.
- Page Title Align - Left, right and center you could select.
Notice we skipped some obvious options.
Breadcrumb Options
- Display breadcrumb - select yes to display the breadcrumb.
- Breadcrumbs on Mobile Devices - Check to display breadcrumbs on mobile devices.
- Breadcrumb Menu Prefix - The text before the breadcrumb menu. You could leave it blank.
- Breadcrumb Menu Separator - Choose a separator between the single breadcrumbs. The default is “/”.
- Show Custom Post Type Archives on Breadcrumbs - Select yes to display custom post type archives in the breadcrumb path.
- Show Post Categories on Breadcrumbs - Select yes to display custom post type archives in the breadcrumb path.
Footer
General Footer Options
Footer Special Effects - You could select sticky footer.
Footer Widgets Area Options
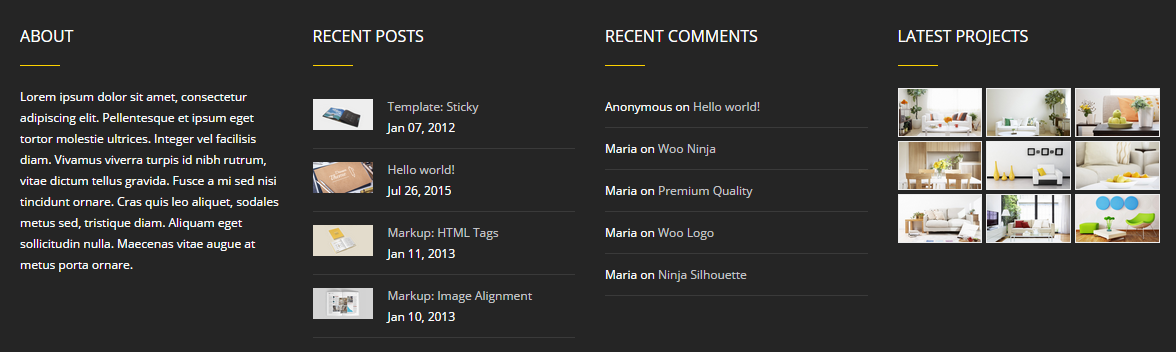
- Display footer widgets - Select yes to display the footer widget.
- Number of Footer Columns - 1,2,3,4 columns you could select.
- Upload Background Image - Upload background image for the footer widget area.
- 100% Background Image - Select yes to have the footer widgets area background image display at 100% in width and height and scale according to the browser size.
- Parallax Background Image - Select yes to enable parallax.
- Background Repeat - You could select repeat, repeat-x, repeat-y and no-repeat.
- Background Position - You could select top left, top center, top right, center left, center center, center right, bottom left, bottom center, bottom right.
- Footer Top Padding - Set the footer top padding by pixels or percentage, ex: 10px or 10%.
- Footer Bottom Padding - Set the footer bottom padding by pixels or percentage, ex: 10px or 10%.
Copyright Options
- Display Copyright Bar - Select yes to display the copyright bar.
- Copyright Text - Enter the text that displays in the copyright bar. HTML markup can be used.
- Copyright Top Padding - Set the copyright top padding by pixels or percentage, ex: 10px or 10%.
- Copyright Bottom Padding - Set the copyright bottom padding by pixels or percentage, ex: 10px or 10%.
Social Icon Options
- Social Icons Color - You could select a unlimited color for the social icons.
- Social Icons Boxed - Select yes to give the icon a boxed style.
- Social Icons Box Color - Select a unlimited color for the social box color.
- Social Icons Boxed Radius - Set the icon box value by pixels, ex: 10px.
- Social Icon Tooltip Position - The tooltip just is the social title, when you hover the icon, the icon tooltip will display. Top or bottom you could select for the position.
More social icon name you could get from fontawesome
Sidebar
Alchem allows single or dual sidebars, or no sidebars for pages, blog posts, blog archive category pages, search page. There are two sidebar dropdown fields that allow you to make these selections: Left Sidebar and Right Sidebar. Make the sidebars you need go to “Dashboard/Appearance/Widgets/“.
Background Options
Boxed Mode
Notice these options only work for boxed mode.
Background Image For Outer Areas In Boxed Mode
Upload an image to use for the backgroud.
100% Background Image
Choose to have the background image display at 100% in width and height and scale according to the browser size.
Background Repeat
Select how the background image repeats.
Background Color For Outer Areas In Boxed Mode
Set background color for uter areas in boxed mode.
Boxed & Wide Mode
Same options as the boxed mode, and these options only work for Boxed & Wide Mode.
Slider Settings
If you want the slider settings work, you need create a new slider in “Dashboard/Magee Slider/Add New” firstly. Then when you edit page, there is a “Alchem Metabox Options” below the write area. In it, “Slider Banner” select “Magee Slider”, “Select Magee Slider” select the slider you created, save page and you will see the slider display on the page now. Below options in “Customize/Slider Settings” are the global slider settings.
- Autoplay - Check yes to make slider autoplay.
- Slideshow Speed - Controls the speed of slideshows for the shortcode and sliders within posts. ex: 1000 = 1 second.
- Display Slider Pagination - Check yes to display the slider pagination.
- Caption Font Color - Select a color for the caption of slider, not the heading.
- Caption Heading h1-h6 Font Color - Select a color for the heading h1-h6.
- Caption Font Size - Set the slider font size, ex: 16px.
- Caption Alignment - Left, center and right you could select.
Site Identity
Set the site title, tagline and site icon. The Site Icon is used as a browser and app icon for your site. Icons must be square, and at least 512px wide and tall.
Custom CSS
The custom css is for the css advanced users, if you are not good at css, just leave it default value. The css code will add to the header before the closing </head> tag.
404 Page
- 404 Page Title - Set a title for the 404 page.
- 404 Page Content - You could use html codes in this section.
- Sidebar Position - Select which sidebar you want to display: none, left, right and both.
Color
Header Text Color - Set the site title color.
Background Color - Set the background color.
Header Image
While you can crop images to your liking after clicking Add new image, your theme recommends a header size of 1920 × 120 pixels.
Background Image
When you choose a image as the background image, you could set the Background Repeat, Background Position and Background Attachment.