Daisy Store User Manual
Installation & Activation
This user manual gives step-by-step guide to you to install and customize your Daisy Store theme. Now follow the steps below to start an Online Store.
Install & Activate The Theme
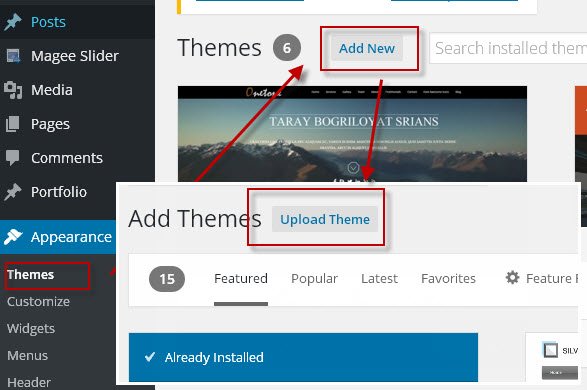
Go to Dashboard -> Appearance -> Themes -> Add New.
2 Ways to install Daisy Store theme
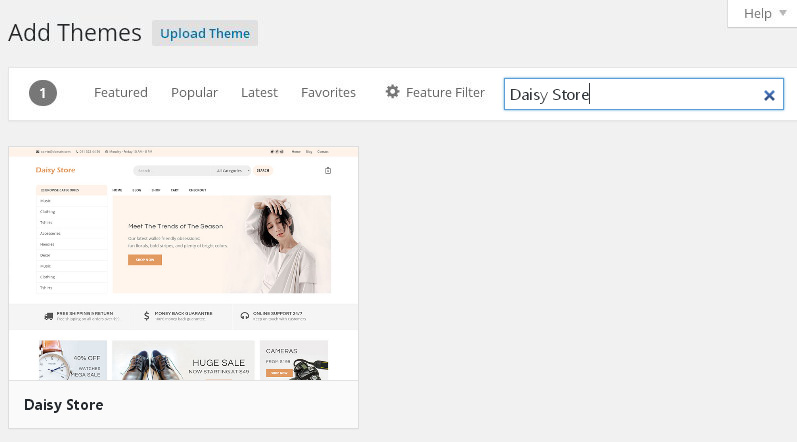
- Way 1: Input “Daisy Store” into search box -> Click “Install” ->Download and Install online.
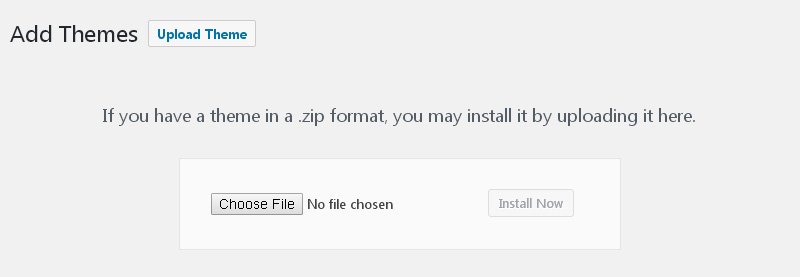
- Way 2: Download the theme from wordpress.org or our official site. Click on ‘Upload’ -> ‘Browse’ ->Load the daisy-store.zip file you downloaded earlier ->click on ‘Install Now’.
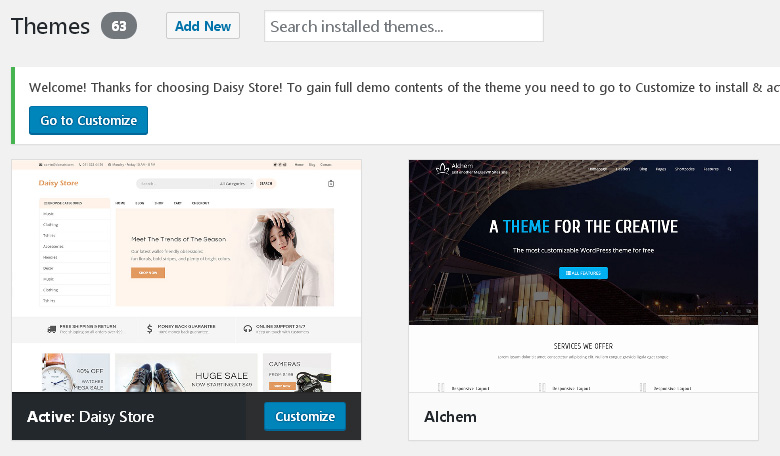
Click the “Activate” link after the installation.
Install & Activate plugins
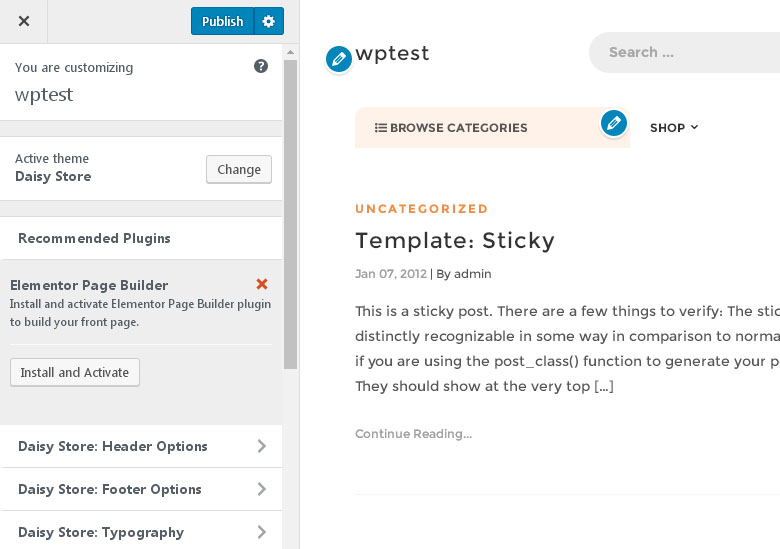
After installation of the theme, you could open Customize to install the essential plugins. Just click the “Go to Customize” button to open Customizer.
Click the “Install and Activate” button to install & activate “Elementor”.
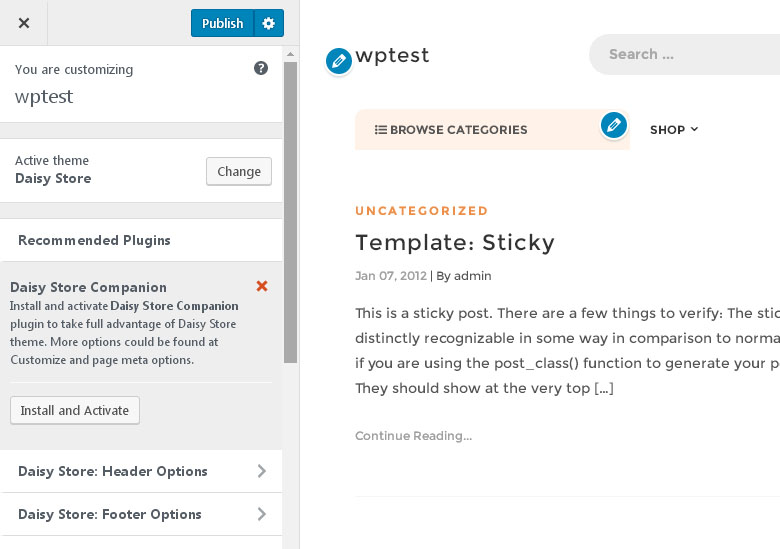
Click the “Install and Activate” button to install & activate “Daisy Store Companion”.
Install & Activate Woocommerce Plugin
WooCommerce plugin is essential if you want to create online store using our theme. You could search for this plugin via Dashboard – Plugins – Add New. .
The following part of this user manual will introduce how to configure the homepage and other pages on your site.
Import Demo
How to Import Templates?
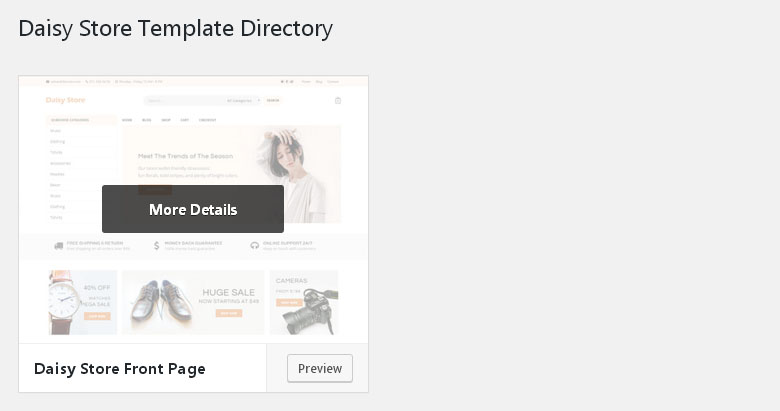
Go to Dashboard – Daisy Store Companion – Templated Directory, choose to preview any of the templates.
Click the Import button to import from the template.
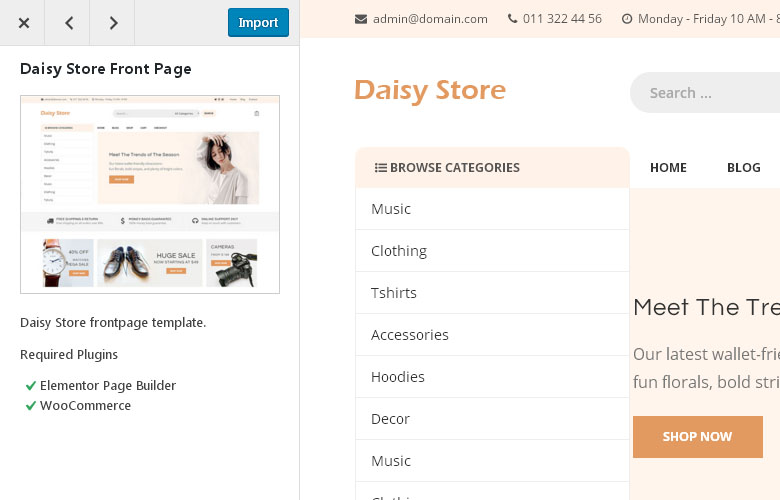
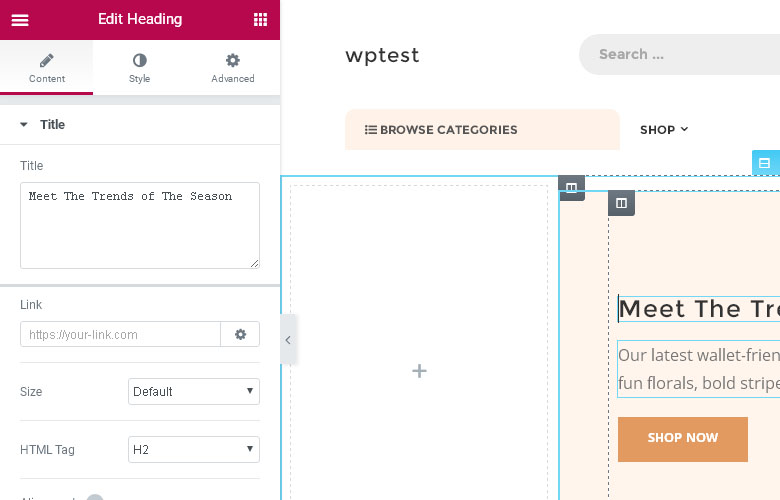
Then you would be directed to the editing page of Elementor. You could edit everything in the front page using this drag & drop page builder. More info could be found at the offical site of Elementor.
More templates are coming soon!
Header Settings
You could edit everything in your site using Customize.
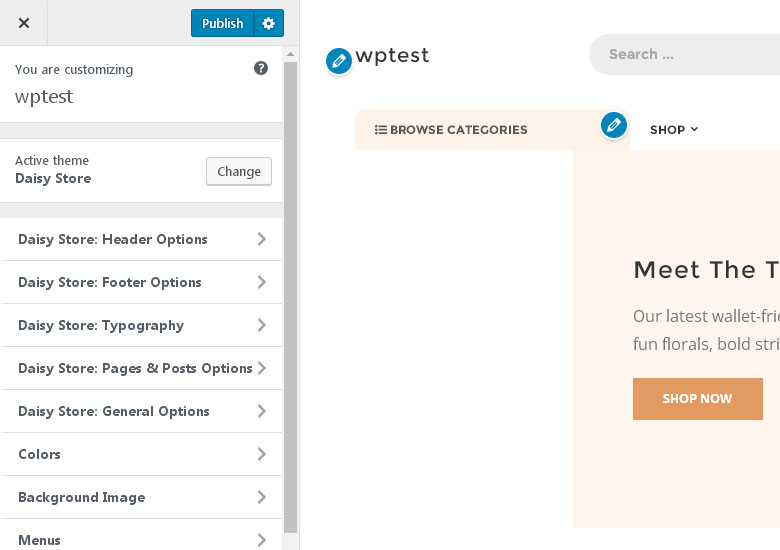
Go to “Daisy Store: Header Options” to set header style for your site.
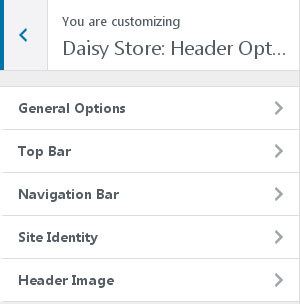
First, go to “General Options” to make basic settings for the header.

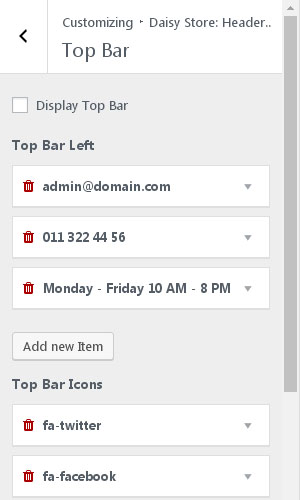
Go to “Top Bar” if you want to enable top bar and add contents to top bar.
Go to “Navigation Bar” to choose layout for the navigation bar.
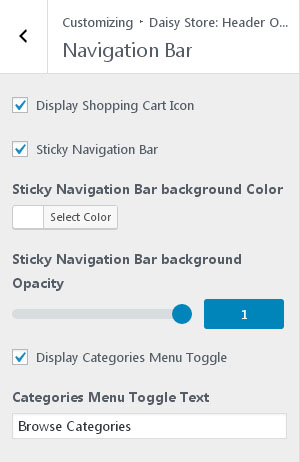
You could choose to enable/disable the sticky navigation bar by checking the “Sticky Navigation Bar” box.
And the Catogory Menu is also optional here. You could choose to enable/disable it and change the text.
Go to “Site Identity” to upload logo for your site.
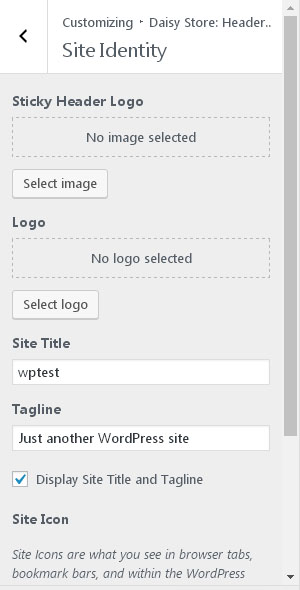
If you want to display logo instead of site title in the header, remember to choose to hide the site title/tagline. Fav icon is also available in this page.
Menus
Create primary menu for your site.
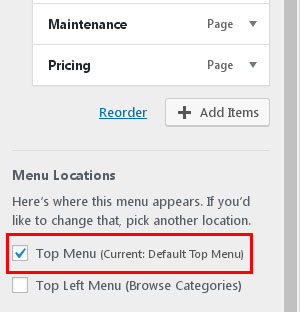
Go to Customize – Menus, click the “Create new menu” button, set Display location as “Top Menu” and add menu items to it.
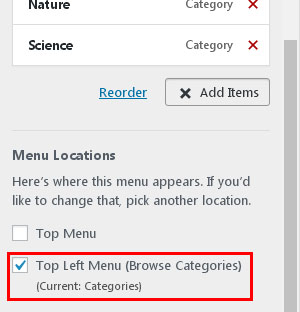
Create Category menu for your site.
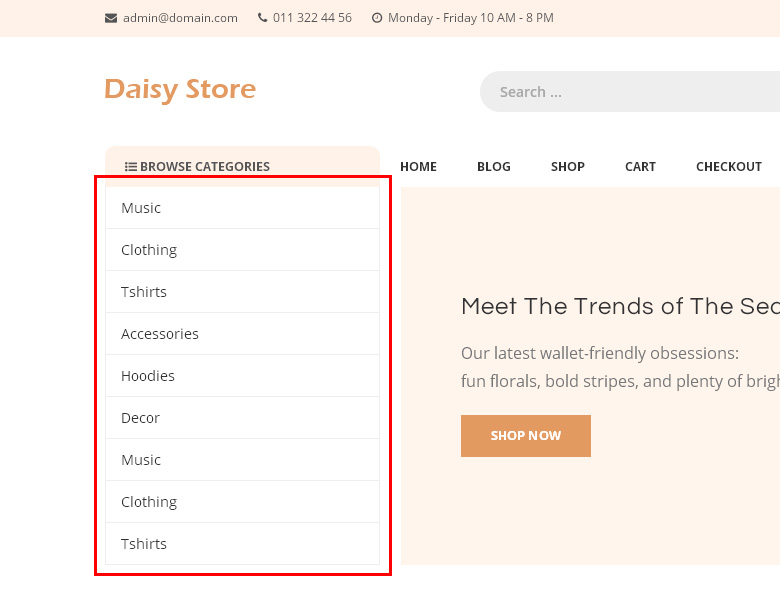
Go to Customize – Menus, click the “Create new menu” button, set Display location as “Top Left Menu (Browse Categories)” and add menu items to it.
Footer Settings
Go to Customize – Daisy Store: Footer Options to set contents in footer.
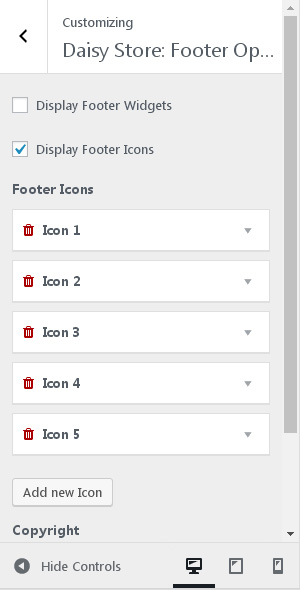
You could choose to display widget area here. And you could also set your social info in this page.
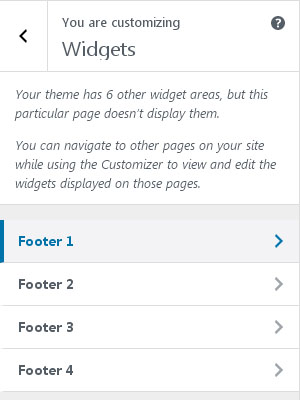
Once you choose to display Display Footer Widgets, Go to Customize – Widgets to set widgets for footer.
Typography Settings
Go to Customize – Daisy Store: Typography to change fonts style for your site.
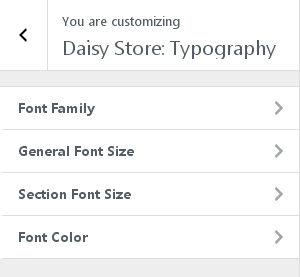
Here you could choose font family from 600+ free google fonts and set fonts size for your site.
Posts Settings
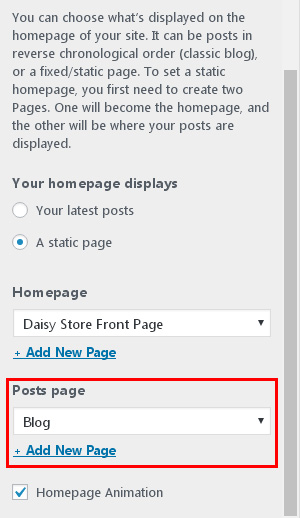
If you have never set posts page before, you need to go to Customize - Homepage Settings to create a new page and set it as Posts page.
Go to Customize – Daisy Store: Pages & Posts to set style for posts.
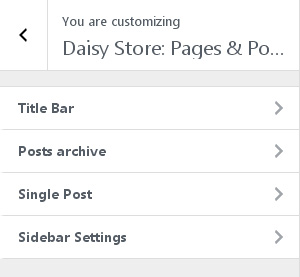
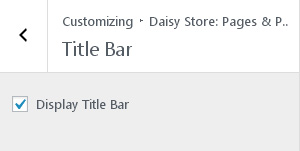
Go to Title Bar Settings to display title bar or not.
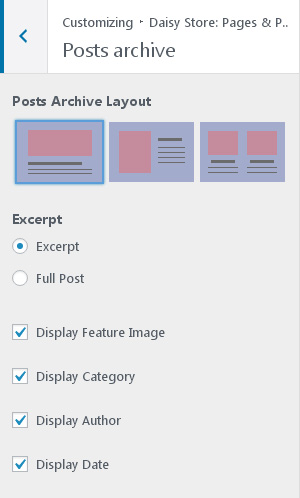
Go to Posts Settings to set style for posts archive page.
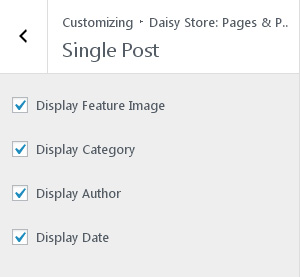
Go to Single Post Settings to set style for single post.
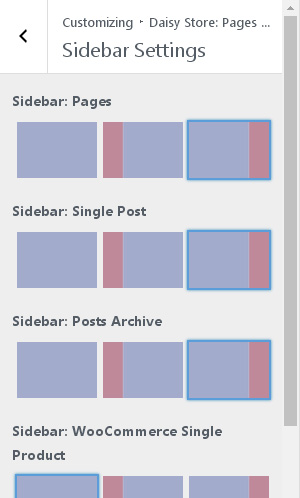
Go to Sidebar Settings to set sidebar layout for single post & posts archive page.
Pages Settings
Daisy Store offers multiple options in page meta box.
Create a new page in Dashboard – Pages – Add New.
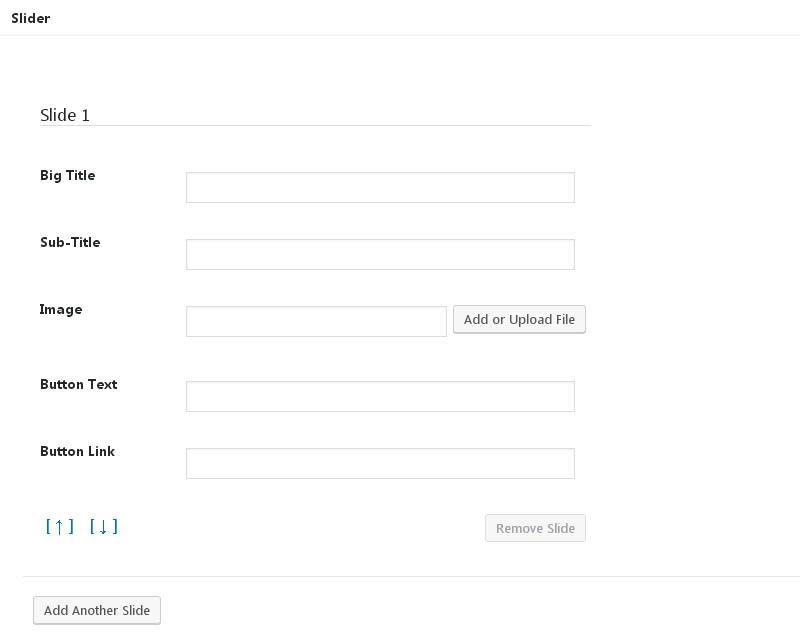
Here you could set slider for the unique page.
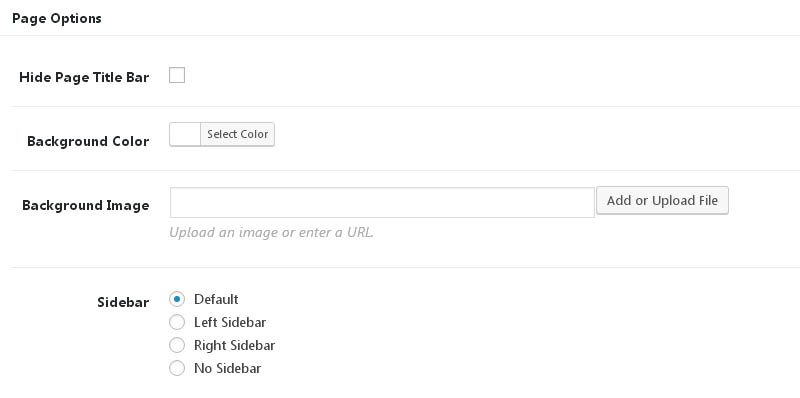
And set background & sidebar for this page.
You’ve finished your site. Publish and enjoy it.