Onetone - How to Customize the Logo Area
You can upload an image file of any size as your logo in 2 different areas; the default logo, the sticky header logo. This gives you the flexibility to adjust your logo depending on where it’s displayed. Onetone is also retina ready, so there are additional options to upload a retina 2x logo for high resolution devices.
NOTICE
Onetone allows logos to be retina ready, however they are not required to be used. If you do not upload a retina logo, then the default normal logo will be used on all screens.
Available Logo Areas
Default Logo Fields
– Upload a default logo that will be displayed in all areas (Default/Sticky) unless a unique logo is uploaded to the sticky header logo option.
Sticky Header Logo Fields
– Upload a unique logo that will only appear on your sticky header. This is optional.
How To Upload A Default Logo
Step 1
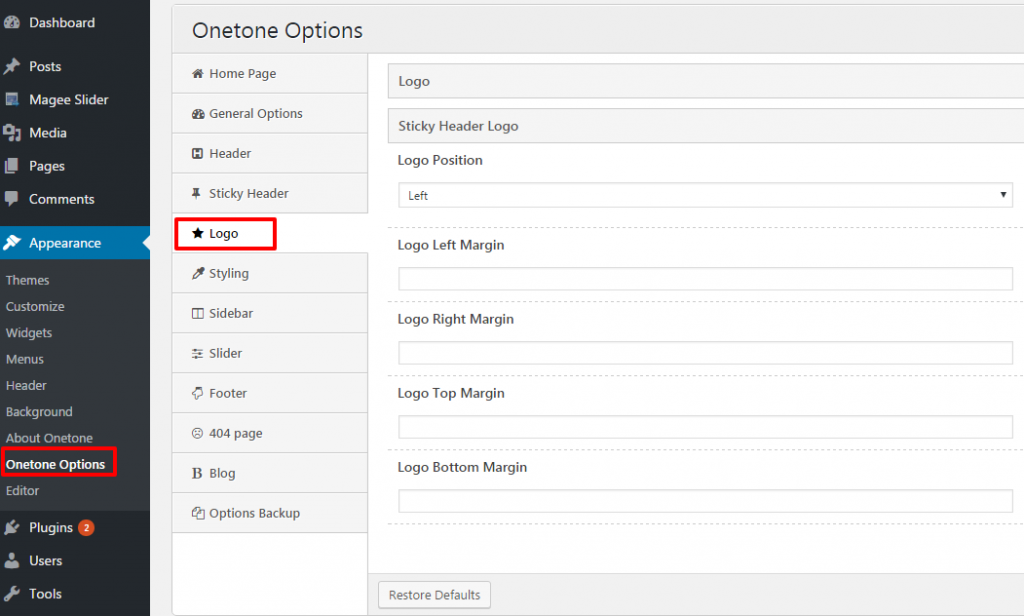
Navigate to WP Dashboard > Appearance > Onetone Options > Logo.
Step 2
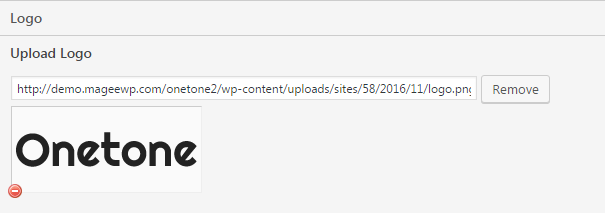
Locate the ‘ Logo’ option, ‘Remove‘ the default logo first, then click the ‘Upload’ button to upload your logo image file.
NOTICE
Onece you checked this box as to set header in home page as overlay style, you can set Overlay Header Logo independently (‘Remove‘ the default overlay header logo first).
Step 3
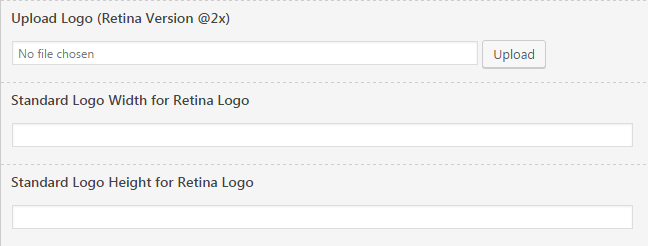
This step is optional. You can upload a default retina logo for retina ready devices using the ‘Upload Logo (Retina Version @2x)’ option.
Step 5
This step is also optional. If you finished Step 3, that’s when retina logo is uploaded, you can enter the standard logo (1x) version width/ height, do not enter the retina logo width. Use a number without ‘px’, ex: 40
Step 6
Click the ‘Save Options’ button.
NOTICE
The retina default logo dimensions must be exactly twice that of your standard logo. For example, if your standard logo is 100px x 100px, the retina version of your logo must be 200px x 200px.
How To Upload A Sticky Header Logo
NOTICE
Uploading a sticky header logo is optional. If no unique logo for the sticky header is uploaded, the default logo will be displayed instead.
Step 1
Navigate to WP Dashboard > Appearance > Onetone Options > Logo.
Step 2
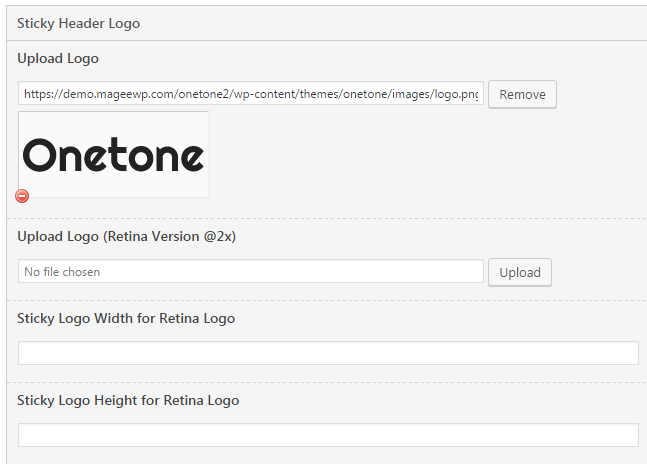
Locate the ‘ Sticky Header Logo’ option, ‘Remove‘ the default logo first, then click the ‘Upload’ button to upload your logo image file.
Step 3
This step is optional. You can upload a default retina logo for retina ready devices using the ‘Upload Logo (Retina Version @2x)’ option.
Step 5
This step is also optional. If you finished Step 3, that’s when retina logo is uploaded, you can enter the standard logo (1x) version width/ height, do not enter the retina logo width. Use a number without ‘px’, ex: 40
Step 6
Click the ‘Save Options’ button.
NOTICE
The retina sticky header logo dimensions must be exactly twice that of your standard logo. For example, if your standard logo is 100px x 100px, the retina version of your logo must be 200px x 200px.
General Options
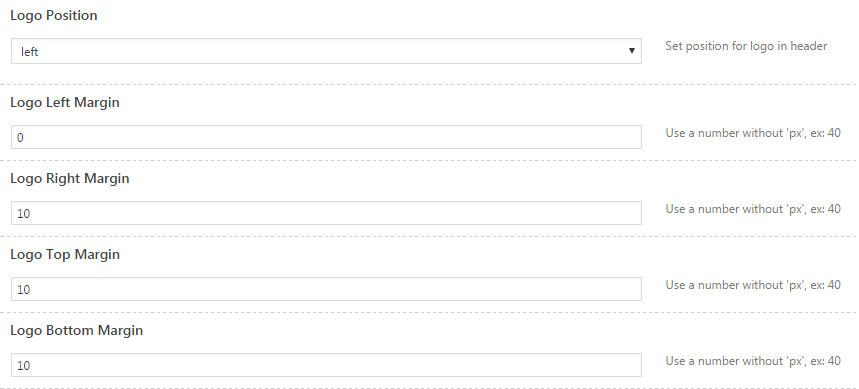
Logo Position
– Controls the logo alignment.
Logo Margins
– Controls the top / right / bottom / left margins for the logo. Use a number without ‘px’, ex: 40
NOTICE
- Do remember to click the ‘Save Options‘ button each time a new option is set.
- Do remember to back up all option settings each time you begin a new option set.
